
Hey, bloggers! So recently I was on Pinterest and I came across a pin about melted crayon art. (Follow me on Pinterest! My username is rubytuesday754) So, when me and my friend Delaney got together today, we decided to try it. My hopes were high because it looked pretty easy. It actually is unlike a lot of DIYs out there! I definitely recommend to try it out this summer. So keep reading of you want to learn how to do it!👌🏻
Warning: you need permission from an adult before you do this because it was dangerous at some parts for us.
What you will need:
-A canvas. This can be cardboard or an actually canvas from the store. Just use something thick.
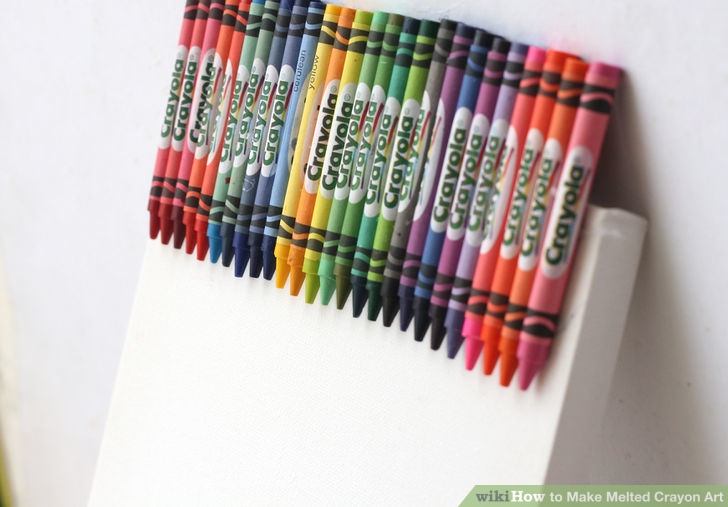
-Crayons. I recommend Crayola. This is just what I used.
-A hair dryer.
-Super glue.
Optional: you can draw a black silhouette beforehand so the crayon can melt over it. It’ll look pretty cool.
Step 1
Unpeal the paper off crayons and start to lay out in a row the order of colors you want. ⬇️
Step 2: Glue them down to your canvas. You can actually use hot glue if you want. I recommend super glue though, because then your less likely to melt your crayons.
Step 3: Now that you have crayons glued on the top of your canvas, you can make a silhouette if you want with sharpie. Then you can put sheets down and plug in your blow dryer. Direct it towards the crayons on the top and watch them melt and splatter onto your canvas. My friend used too much glue, so when she melted her crayons, the glue or something sprayed into our eyes. Thankfully, were okay!
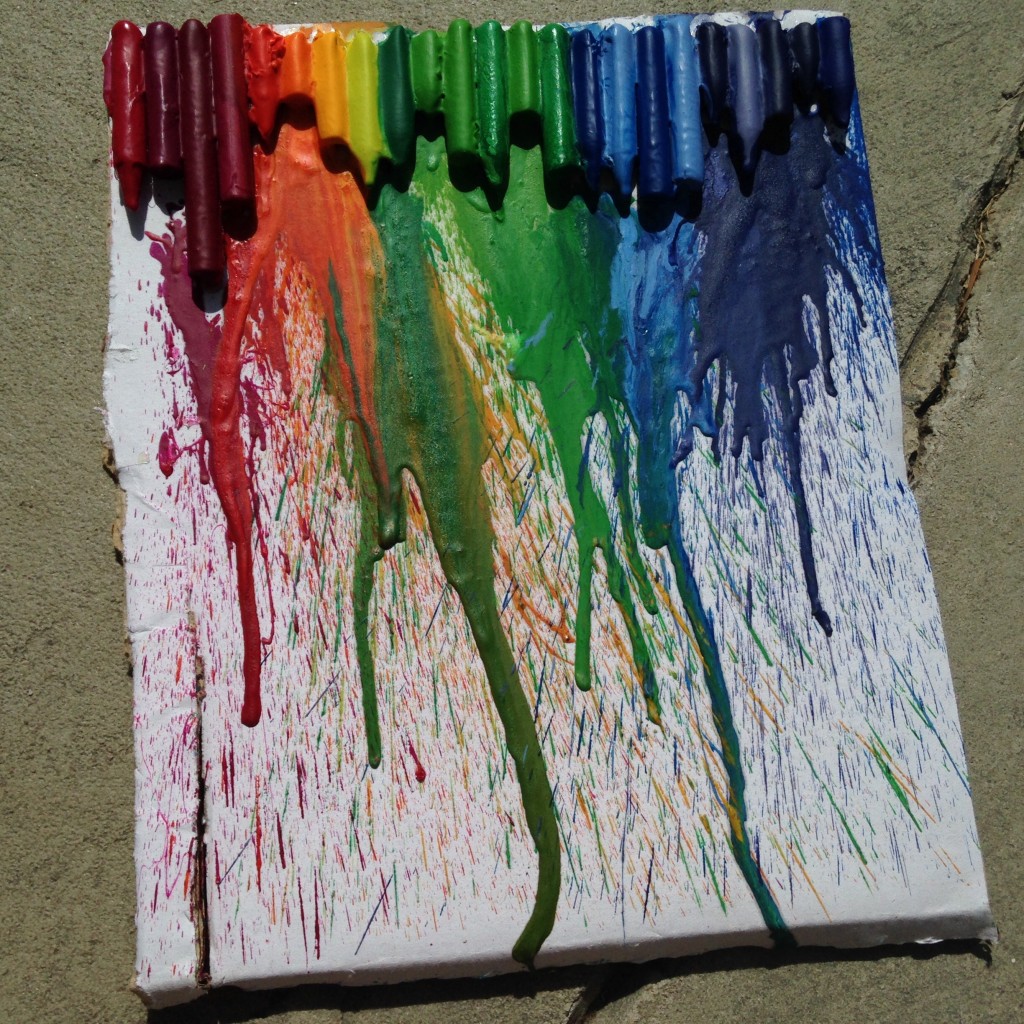
Step 4: Let the painting dry and then you’ve got beautiful melted crayon art!👏🏻👏🏻👏🏻 Here’s how our art turned out.⬇️ I made the blue one and Delaney made the rainbow one.


See you next time!!👏🏻🎈